|
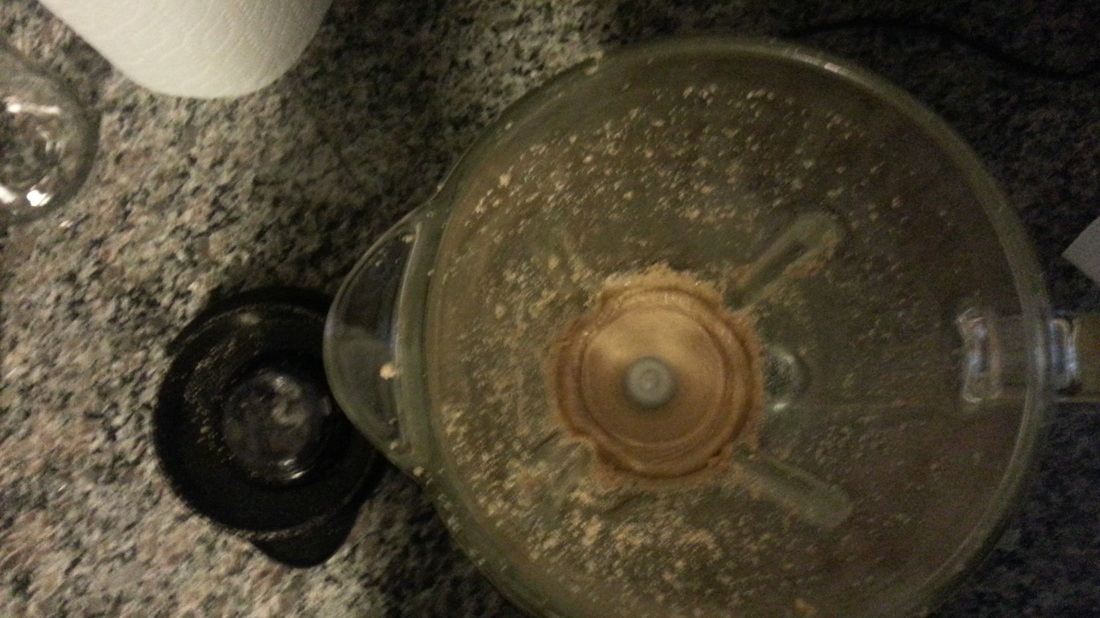
Yes. I gave in to curiosity (my love) to test out (to devour) peanut butter. This time, I opted to roast the nuts prior to blending. It literally was almost insta-nut butter (but still had me wishing for the Whole Foods machine). With the lovely assistance of my sister and one of her friends, we shelled the peanuts, I then roasted them in the oven at 350F/~175C for 20 minutes. In total, it still took a solid half hour to make the butter, but the blending was reduced to <5 minutes AND there was less stopping and scraping involved. Next time, I will try out the roasting method with almonds; I will also explore cashew butter! ...off to eat some peanut butter... [Pictures were taken by my sister and me.]
0 Comments
I devour peanut butter...maybe even live off of it. You, too?I recently came to the realization that I probably spend more money on peanut butter than any other food item. [I may or may not 'drink' my peanut butter, but that is besides the point.] I started wondering what it would take to make my own nut butter. After some consultations with gurus (my dad and google), I began the adventure. The directions I followed from Megan at Detoxinista gave fair warning that patience is a requirement. She was so right. Because this was an experiment, I didn't want to make too much nut butter. The nut I went with (partially because I did not have peanuts on hand) was almond. I took close to two handfuls of raw almonds and threw them into the blender. I was on a high for the first few minutes. The nuts were breaking down well, my blender was chopping, dicing and shredding like a pro. But then, when the consistency was like a very grainy flour, the nut 'flour' started sticking to the sides of the blender! I reluctantly stopped the blender, scraped the sides and then continued. I started the blender back on and in a matter of seconds, the same thing happened. Still reluctant, I stopped the blender, scraped the sides, then turned it back on. This. kept. happening. over. and. over. and. over. and. over. and...during this time, I wondered about many things, including how the insta-peanut butter machines in Whole Foods work and how I could get one. After I started and stopped the blender a dozen times, I decided to increase the speed of the blender. My rationale was that a faster speed would get more done given my relegation to brief bursts to mix the almonds. I ended up increasing the speed one or two more times before the butter started forming. Once it did, I was super excited! The two handfuls of almonds yielded roughly two tablespoons of rich, creamy almond butter. As great as it is (and tastes), I'm not sure that the solid thirty minutes of stop-and-go blending have convinced me to completely go homemade with my nut butters, but it does feel rewarding! You can check out the instructions by Megan at Detoxinista below. From Detoxinista...Megan's pictures are waaay better than mine and she has great almond butter-making tips.
Instructions
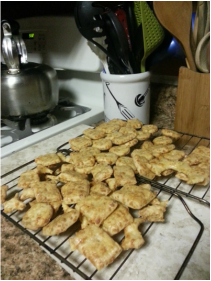 A few weeks ago, I came across a homemade cheez-its recipe on Yahoo! and could not resist. I immediately emailed my co-chef (ahem...my sister) and we began plotting our approach. It took three separate trips to the grocery store to make these. [Nice to know that some stores observe the holidays. And, who knew baking powder was so in demand?!] While our crackers do not look as brilliant as those in the Yahoo! article, they were perfectly crunchy, cheesy, salty and tasty. Here is the recipe from Yahoo!
Home-made Cheez-its! Makes about 5 cups of crackers 2 cups (9 ounces) all-purpose flour 1/2 teaspoon baking powder 3/4 teaspoon kosher salt, plus more for sprinkling 6 tablespoons unsalted butter, at room temperature 7 1/2 ounces (about 3 1/2 cups) finely grated sharp cheddar 2 to 4 tablespoons ice water 1 large egg white, lightly beaten
|
AuthorBesides enjoying 'good eats', my sister and I attempt to recreate dishes we have enjoyed elsewhere. Friends sometimes join us in the trial and error. Some attempts are more successful than others. Archives
August 2023
Categories
All
|


 RSS Feed
