|
Funny enough, my sister and I separately decided to make gnocci on the same day! I had been seeing a lot of videos in youtube shorts (like this) about how easy it is to make gnocci...so I decided to try it out. I never do things mildly, I thought it would be fun to make a sweet potato version in addition to 'regular' gnocci -- double fun! Because I needed to know measurements, I looked for vegan (no egg) recipes online and really liked these two resources (the curious chickpea, the banana diaries). I followed them in my own way and the results were decent. In hindsight, I probably needed to boil the russet potatoes longer.  Anyways, what I was even more excited about was mushroom gravy! I had learned about it from a medical student rotating with us. This is the recipe. The gravy is delicious and a great option for vegetarians!!! Highly recommend. 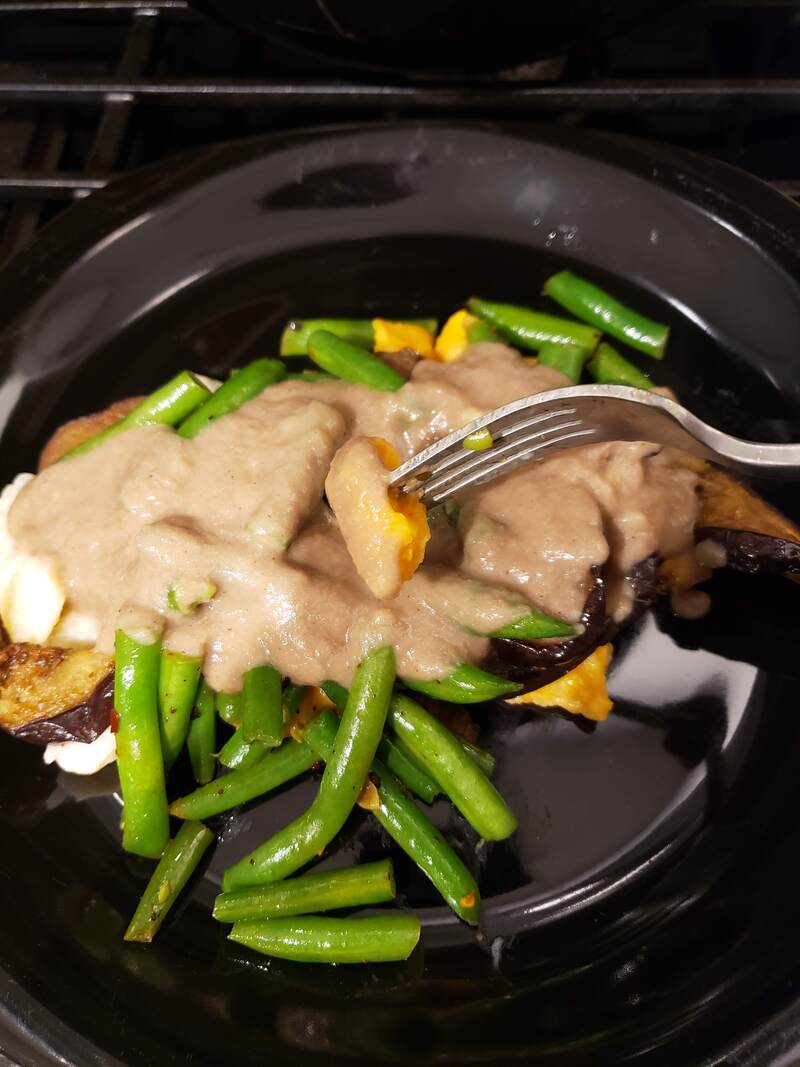 All photos are copyrighted to nnk (2023). Please ask before using or reproducing any elements or photos used and linked to in this post; any use should be attributed appropriately.
0 Comments
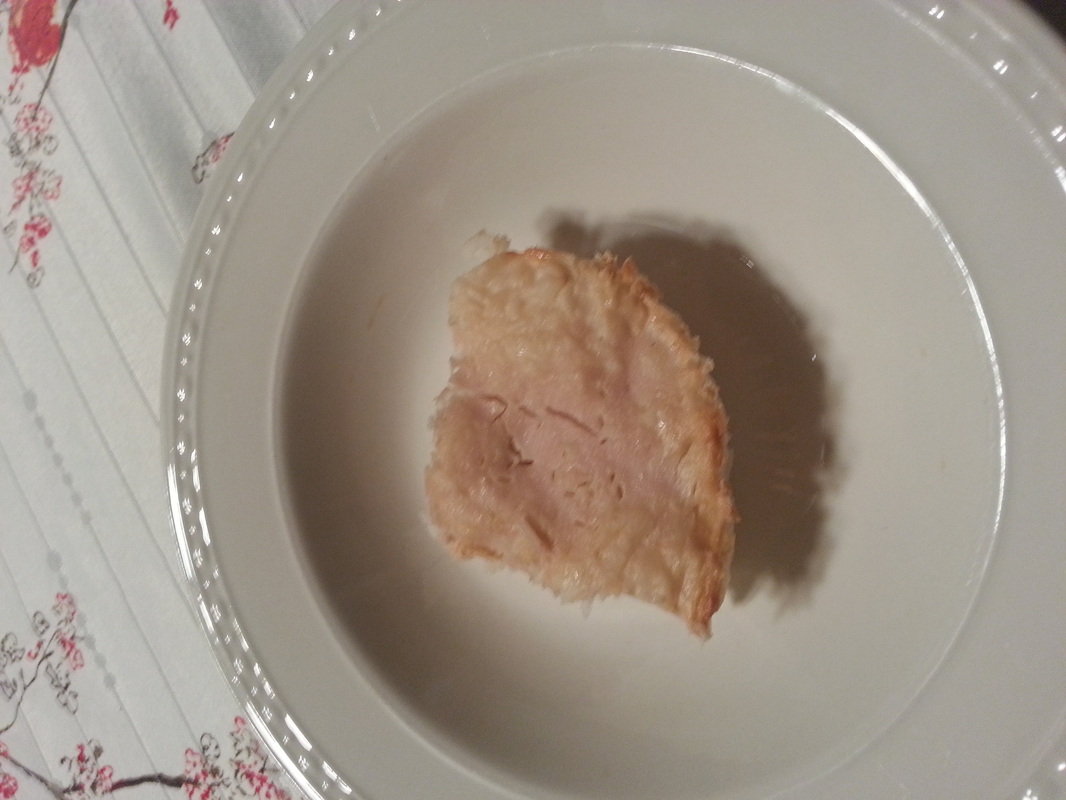
Mapu doufu is simply delicous.In Portland, Maine, there is a restaurant called the Honey Paw; their mapu doufu is my favorite! It is spicy, it is comfort, it is everything. When I moved away from Portland, I was sad; and one day, I was craving the mapu doufu so much. I decided to figure out how to make it. I went to my local asian grocery store to pick up ingredients listed in a recipe that seemed promising. I followed this recipe from omnivorescookbook (minus the wine because I couldn't find it and I opted to add in some spinach). The result?! Absolute brilliance! It was soooo good and my family thought so, too! **grainy picture below** However, if you do find yourself in Portland, Maine, definitely stop by the Honey Paw! 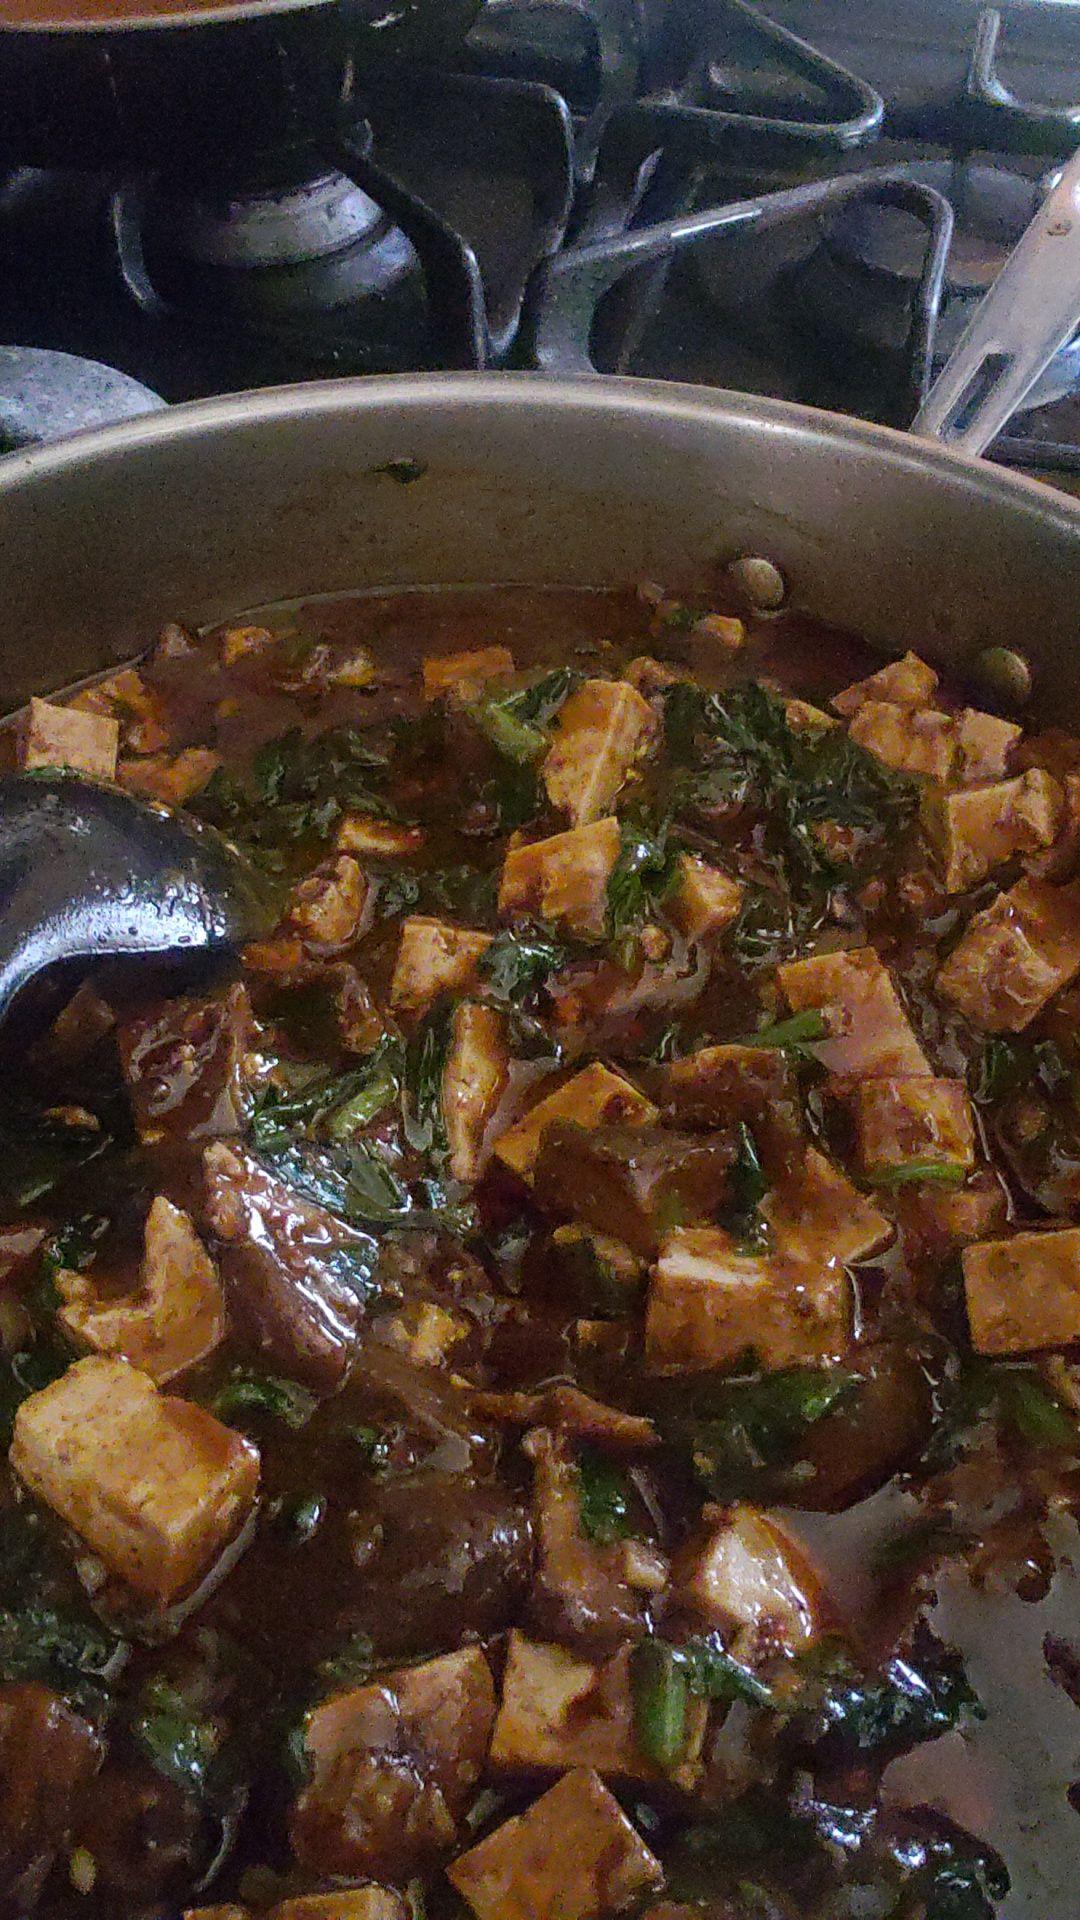 All photos are copyrighted to nnk (2023). Please ask before using or reproducing any elements or photos used and linked to in this post; any use should be attributed appropriately.
Peanut Butter and Banana Breakfast Oatmeal Bars with Chocolate Chips are delicious.They are also super easy to make. They have been a go-to favorite of mine for the past couple of years. There are different ways to approach building your bar. I tend to opt for honey as a sweetener (in addition to making sure my bananas are pretty ripe, the semi-sweet chocolate chips help as well :-D), prefer chunky over smooth (all-natural) peanut butter, use non-dairy milk, am liberal with cinnamon (which helps if there is no vanilla in sight) and I also skip the eggs. Everything still turns out fabulously delicious.
Sally's Baking Addiction has an easy-to-follow recipe for the bars. Definitely try it out! Your stomach will thank you. When you're missing garden egg stew, a delicious eggplant (aubergine) dish from West Africa, you go to drastic measures to attempt to recreate it with whatever you have on-hand. Garden Egg stew is one of my favorite dishes. I eat it religiously in Ghana. One of the best preparations is at Bar Naas/NW9 -- a hip and contemporary African restaurant based in Kumasi in Nhyieso, that offers a variety of cuisine ranging from garden egg stew (of course), to shawarma, to pizza to fish n' chips (yum) and more. Equipped with Italian eggplant, anchovies, sardines, fresh tomatoes, onions, olive oil and a variety of seasonings (i.e., salt, pepper, dried pepper flakes and nutmeg) and some inspiration from TimeOut.com, I set out to satisfy my deep craving for garden egg stew. What happened was nothing short of a miracle. While clearly not garden egg stew, this poor (wo)man's rendition was quite tasty. Here's what I did:
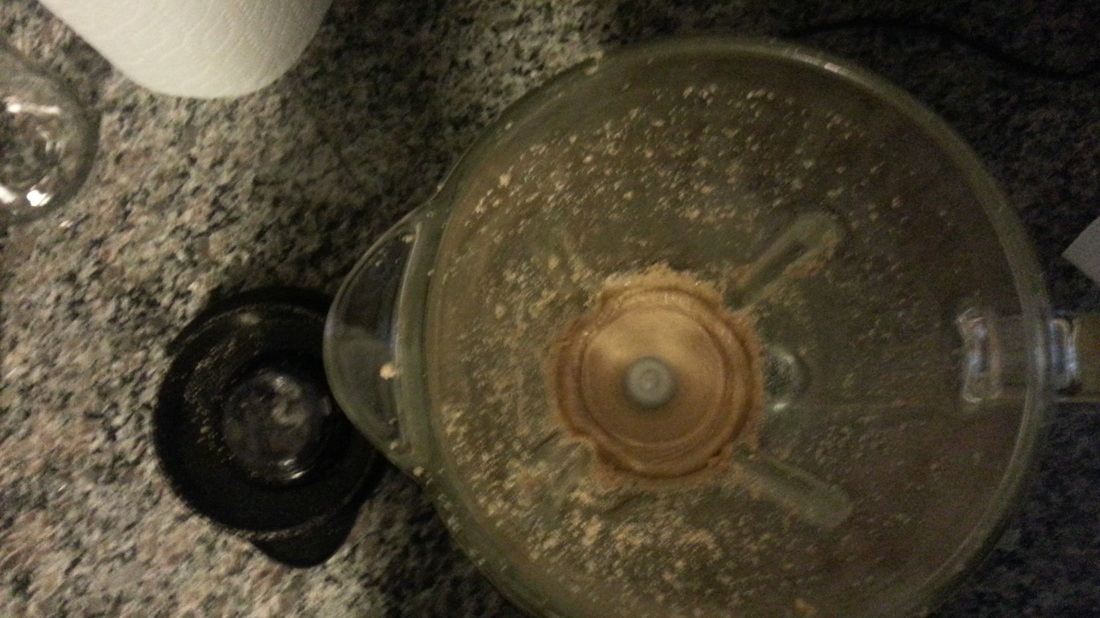
For roughly 3 servings, 1 onion, 2-3 tomatoes, 1 small tin of sardines, 1 small tin of anchovies and 1 Italian eggplant are plenty. It was so nice that I only got to eat it twice.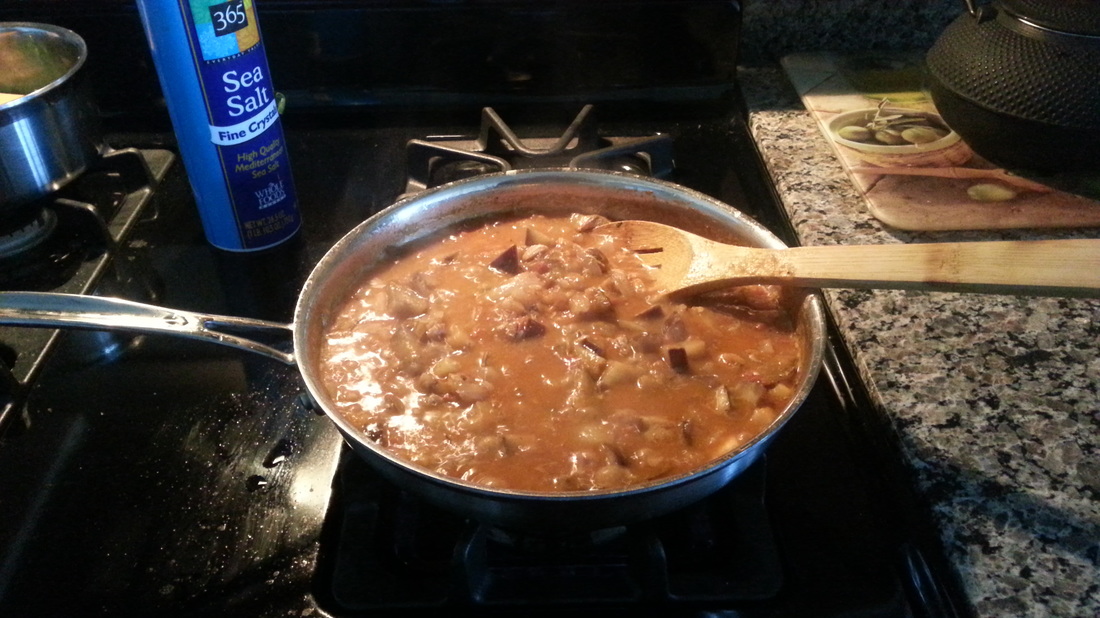 I couldn't wait to devour this! 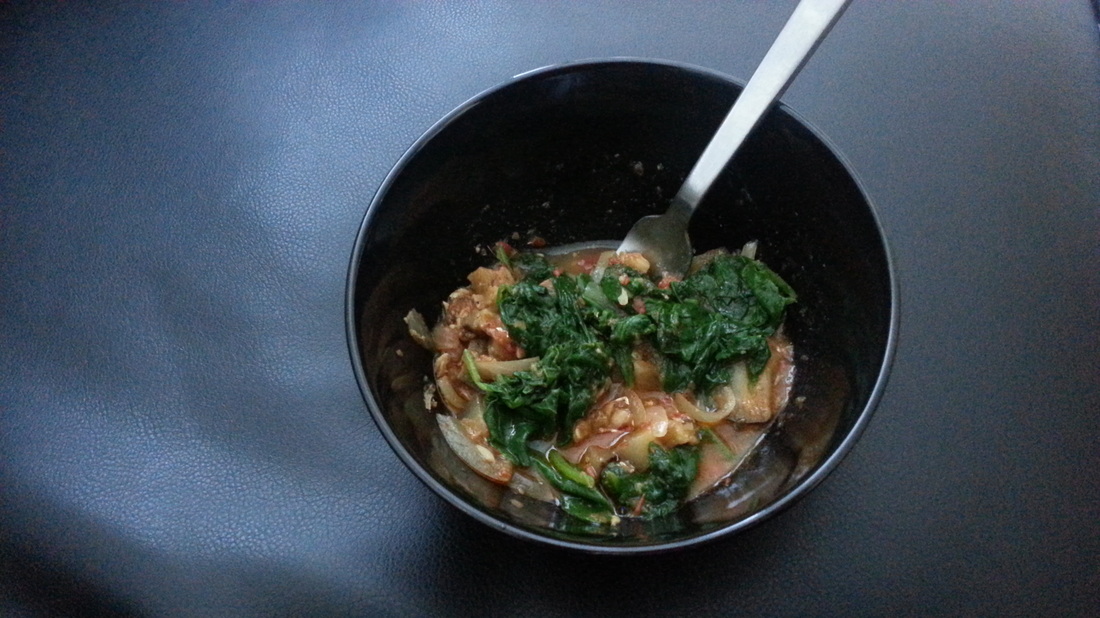 I paired my eggplant stew with steamed baby spinach, kale and mushrooms. I devour peanut butter...maybe even live off of it. You, too?I recently came to the realization that I probably spend more money on peanut butter than any other food item. [I may or may not 'drink' my peanut butter, but that is besides the point.] I started wondering what it would take to make my own nut butter. After some consultations with gurus (my dad and google), I began the adventure. The directions I followed from Megan at Detoxinista gave fair warning that patience is a requirement. She was so right. Because this was an experiment, I didn't want to make too much nut butter. The nut I went with (partially because I did not have peanuts on hand) was almond. I took close to two handfuls of raw almonds and threw them into the blender. I was on a high for the first few minutes. The nuts were breaking down well, my blender was chopping, dicing and shredding like a pro. But then, when the consistency was like a very grainy flour, the nut 'flour' started sticking to the sides of the blender! I reluctantly stopped the blender, scraped the sides and then continued. I started the blender back on and in a matter of seconds, the same thing happened. Still reluctant, I stopped the blender, scraped the sides, then turned it back on. This. kept. happening. over. and. over. and. over. and. over. and...during this time, I wondered about many things, including how the insta-peanut butter machines in Whole Foods work and how I could get one. After I started and stopped the blender a dozen times, I decided to increase the speed of the blender. My rationale was that a faster speed would get more done given my relegation to brief bursts to mix the almonds. I ended up increasing the speed one or two more times before the butter started forming. Once it did, I was super excited! The two handfuls of almonds yielded roughly two tablespoons of rich, creamy almond butter. As great as it is (and tastes), I'm not sure that the solid thirty minutes of stop-and-go blending have convinced me to completely go homemade with my nut butters, but it does feel rewarding! You can check out the instructions by Megan at Detoxinista below. From Detoxinista...Megan's pictures are waaay better than mine and she has great almond butter-making tips.
Instructions

Yes! We totally devoured it!
Here is a recipe, courtesy of Bram Cookware.
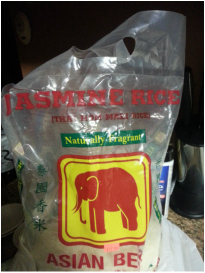
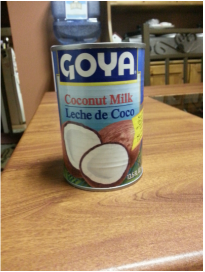
[NB: Instead of a Bram, we used a deep dish aluminum foil oven pan. We used Jasmine rice, which turned out nicely; we maintained the 1:2 (rice to milk) ratio; and opted for less butter (just enough delicate flakes to evenly distribute across the top). Baking time should be adjusted for yield.] *** Yield: generously serves 4 Prep Time: 10 minutes Cook Time: 1 hour This is a very traditional Egyptian rice dish that’s super easy to make and very good. It’s always cooked in a bram, an open casserole with high sides. It has a slightly creamy texture and can accompany any dish you’d normally serve with plain white rice. In Egypt, they use very generous amounts of ground black pepper over the top before putting it in the oven. Pot 1½ to 2 qt. bram (see notes) Ingredients 2 cups sushi or short grain rice (see notes) 4 cups whole milk 1 tsp. salt 2 tbsp. butter Freshly ground black pepper to taste Preparation Preheat oven to 385º F. Place rice and milk in pot. Add about 1 teaspoon of salt and stir. Distribute butter in thin shavings over surface. Top with generous amount of freshly ground pepper. Place on baking sheet as safeguard from spills. Bake for about 1 hour, checking after 30 minutes to make sure it is not bubbling over. Rice is done when you see a rich golden brown crust. Notes BRAM: This recipe is sized for our medium brams. If using a smaller or larger size, simply adjust the recipe accordingly. The ratio is one part rice to two parts milk. The ingredients should fill most of the pot before cooking, coming up to about 1 inch below the top of the pot. RICE: In Egypt, this recipe is made with their traditional short grain rice that is very similar to sushi rice. This Japanese short grain rice is widely available in stores and works best to give you authentic results and a creamy texture. You can substitute it for medium or long grain rice such as basmati or jasmine, but expect a less creamy and much drier texture. Either way is good. 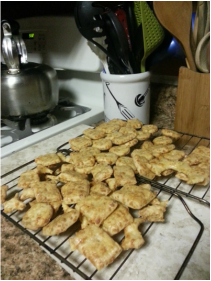 A few weeks ago, I came across a homemade cheez-its recipe on Yahoo! and could not resist. I immediately emailed my co-chef (ahem...my sister) and we began plotting our approach. It took three separate trips to the grocery store to make these. [Nice to know that some stores observe the holidays. And, who knew baking powder was so in demand?!] While our crackers do not look as brilliant as those in the Yahoo! article, they were perfectly crunchy, cheesy, salty and tasty. Here is the recipe from Yahoo!
Home-made Cheez-its! Makes about 5 cups of crackers 2 cups (9 ounces) all-purpose flour 1/2 teaspoon baking powder 3/4 teaspoon kosher salt, plus more for sprinkling 6 tablespoons unsalted butter, at room temperature 7 1/2 ounces (about 3 1/2 cups) finely grated sharp cheddar 2 to 4 tablespoons ice water 1 large egg white, lightly beaten
Wanting to try something exotic (yes, Eastern European treats are exotic to Africans), my sister and I decided to try and make kringle. This was back in the summer of 2014. Kringle is essentially like a braided cinnamon roll but less sweet. Ignoring the fact that neither my dad, sister or myself are bread-makers, my sister and I felt that _braided_ bread would not be a problem. How wrong we were! I should have recognized the warning when my sister and I googled what to do when dough doesn't rise despite adding yeast. The dough was a bit too wet. Braiding the dough ended up being a comical feat. My sister was essentially rolling on the floor laughing at my attempts to braid and maintain the circular shape of the kringle loaf. Being an octopus at that time would have been super convenient. The extra arms would have come in handy. Despite the challenges, the loaves we baked did taste good! If any of you do attempt to make kringle, aim for your dough to be more dry and consider halving the recipe! Our Kringle didn't turn out very well...so, no pictures. Here is the recipe, courtesy of Food52
[A nifty converter] Makes 1 loaf For the dough:
|
AuthorBesides enjoying 'good eats', my sister and I attempt to recreate dishes we have enjoyed elsewhere. Friends sometimes join us in the trial and error. Some attempts are more successful than others. Archives
August 2023
Categories
All
|


 RSS Feed
